A hiking boot is usually two or three materials with a membrane behind them. That combination rules out the product most people reach for, and it decides this entire shortlist.
By Scooter M., Enthusiast. Published September 13, 2026.
We earn a commission if you buy through the links on this page, at no extra cost to you. It never changes a ranking, and we recommend products with no affiliate link behind them where those are the right answer. Full disclosure.
Quick picks
The shortlist, ranked
Ranked on published manufacturer specifications and, where a wattage figure exists, computed running cost. Tap any row for the full write-up, including who should skip it.
Scores are ours and editorial. They are never published as review or rating markup, because we have not tested these products.
Do not put wax on a membrane-lined hiking boot. That one sentence is most of this page. A modern hiker is typically a mix of leather and textile with a waterproof breathable membrane behind it, and the membrane only works if water vapor from your foot can get out through the outer material. A wax fills the spaces between the fibers and seals that route shut.
We have not soak-tested these. Every figure below is the manufacturer’s own, and where a maker publishes nothing this page says so - the method is in how we research.
Is it cleared for a membrane? The first filter, and the one that removes half the waterproofing aisle. If a maker does not name Gore-Tex or eVent in its own material list, it is not on this page.
Does it match your boot’s actual material? Full-grain, nubuck, suede and textile are four different surfaces and the makers formulate for them separately. Buying the wrong sibling product is the most common way to waste money here.
Published application detail. Wet or dry, dwell time, heat or no heat. A maker that publishes a two-minute dwell is a maker that has thought about it.
Volume against how many pairs you own. A 125 ml bottle and a 275 ml bottle are a different purchase for a household with four pairs of boots.
Beading proves the treatment went on. It says nothing about how long it will last, and no maker on this page publishes that number.
The five, on published figures
Product
Materials cleared
Applied to
Size
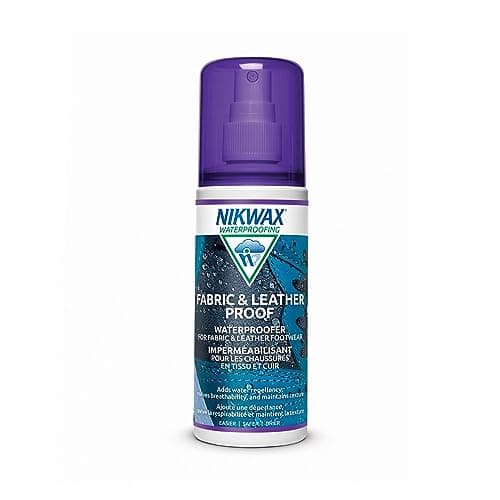
Nikwax Fabric & Leather Proof
Mixed leather and textile; water-based, PFAS-free
No heat needed
Bottle
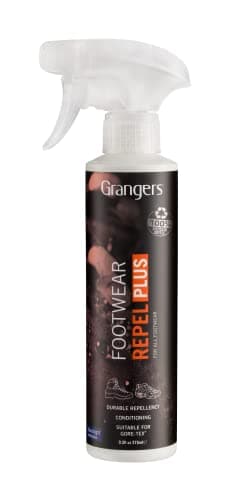
Grangers Footwear Repel Plus
Gore-Tex and eVent, suede, nubuck, leather, fabric
Freshly-cleaned, damp
275 ml
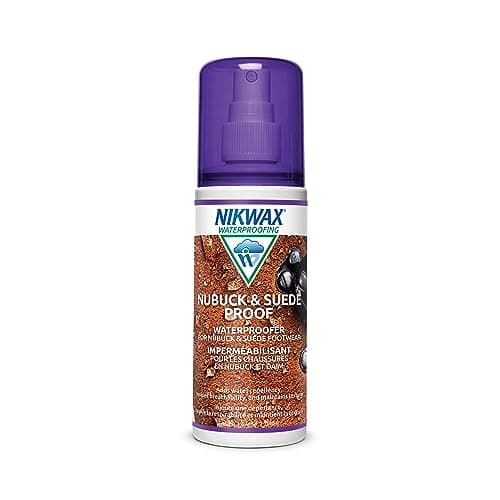
Nikwax Nubuck & Suede Proof
All nubuck and suede, incl. Gore-Tex, eVent, Sympatex
Clean, wet; 2-minute dwell
125 ml
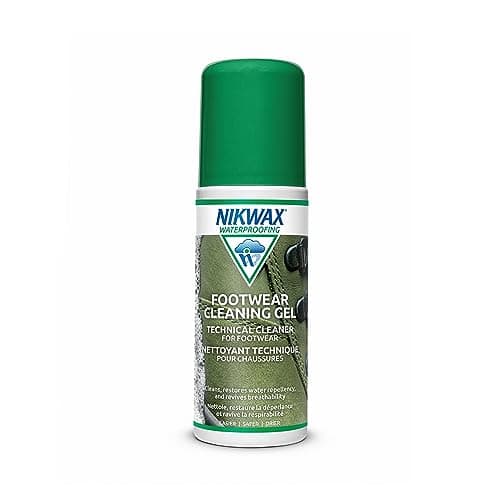
Nikwax Footwear Cleaning Gel
Suede, leather, fabric and synthetic
Cleaning step, before proofing
Bottle
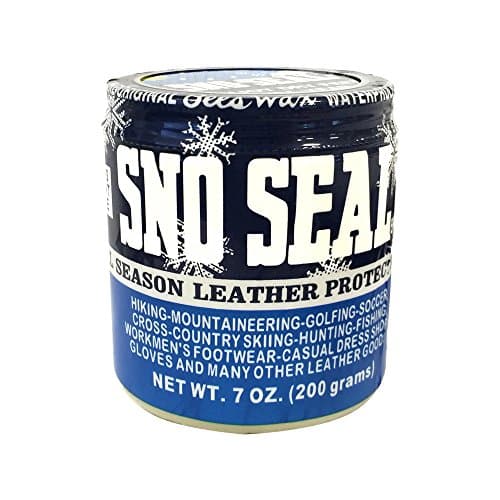
Atsko Sno-Seal
Smooth full-grain leather only; not suede
Preheat, never above 120 F
Tin
Why Fabric & Leather Proof takes it
Because it is formulated for exactly the construction most hiking boots actually are: part leather, part textile, one treatment. Buying a leather-only product for a boot that is half mesh leaves half the boot untreated, and buying a textile-only product leaves the leather panels dry.
The published detail that matters most is that no heat is needed to activate it. Wax dressings want the boot warmed; this does not, which removes the step where people damage leather trying to protect it. It is water-based, non-flammable, and Nikwax states it has never used PFAS.
Its honest cons are on the card. It will not build the sealed film a work boot in constant mud wants. It needs the boots cleaned first, which is a second product. And water-based treatments generally want reapplying more often than a wax does - you are trading durability for breathability, deliberately.
If you own more than one pair
Grangers Footwear Repel Plus covers Gore-Tex and eVent, suede, nubuck, leather and fabric from a single 275 ml bottle, applied to freshly-cleaned damp footwear. For a household with a nubuck hiker, a mesh trail shoe and a leather boot on the rack, that is one purchase instead of two or three.
The trade is the one every general-purpose product makes and it is on the card: wide material coverage means it is nobody’s specialist. On nubuck specifically we would still reach for the dedicated Nikwax formulation. The two brands are compared directly in Nikwax vs Grangers.
Nubuck hikers are their own case
A lot of classic hiking boots are nubuck, and nubuck is a napped surface that behaves like suede rather than like smooth leather. Nikwax Nubuck & Suede Proof publishes coverage for all nubuck and suede footwear including Gore-Tex, eVent and Sympatex, applied to clean, wet boots from about six inches, with the excess removed after two minutes.
That wet application is the underrated feature. It means the job happens the moment the boots come off the trail rather than waiting a day for them to dry - which is the point at which most people stop intending to do it. The limitation is size: 125 ml is a couple of pairs, not a season for a family.
The step that decides whether any of this works
Both makers specify a clean boot. Grangers says freshly-cleaned; Nikwax says clean and wet. A proofer applied over trail dust bonds to the dust and leaves with it on the next wash.
This is also the part that restores a failing membrane boot. A Gore-Tex liner that has “stopped working” is very often an outer face fabric so clogged with dirt and body oils that it wets out and stops breathing. Cleaning it is the fix, and the proofer goes on afterwards - which is why the cleaning gel is fourth on a list of waterproofers rather than absent from it.
How to apply it
The products differ; the method barely does. What changes results is doing all five steps rather than the two most people do.
01
Knock the mud off dry, then wash
Let caked mud dry and brush it off first - wet mud smears into the grain and into mesh. Then wash with a footwear cleaner rather than detergent. This is the step that decides whether the rest works, and on a membrane boot it is also frequently the whole repair.
02
Leave the boots wet
Counter-intuitive and published by both makers. Nikwax specifies “clean, wet”; Grangers specifies “freshly-cleaned, damp”. A water-based treatment distributes along wetted-out fibers; on a bone-dry boot it sits on the outside and dries patchy.
03
Apply evenly, including the seams
Nikwax publishes a spray distance of about six inches. Cover the tongue gusset and the seam where the upper meets the rand - those are where water actually gets in on a hiking boot, and they are the places a quick spray misses.
04
Wipe the excess off within two minutes
Nikwax gives a two-minute window; Grangers says to remove excess with a clean cloth. Surplus left to dry in place looks like a stain and does nothing useful.
05
Dry naturally, away from heat
No radiators, no boot-dryer heat setting, no sun. Atsko is explicit that force drying with heat causes leather to harden and shrink, and none of these treatments need heat to cure - the drying method is the same one you would use after a wet walk.
The places hiking boots actually leak
Not the toe cap, which is what everybody sprays hardest. On a hiking boot water arrives at three places, and all three reward the extra thirty seconds.
The tongue gusset. The bellows of fabric that seals the lace opening flexes with every step and is usually the thinnest material on the boot. It is also the first place a gaiter-less walker gets wet in long grass.
The rand seam. Where the upper meets the rubber rand around the toe. It sits in every puddle, collects grit that abrades whatever you put on it, and holds water against the join.
The flex crease. The fold across the vamp opens and closes thousands of times a day, which is why any surface treatment wears through there first. It is also the right place to test whether the proofing still works.
The exception: full-grain leather hikers with no membrane
Traditional full-grain leather backpacking boots - the heavy ones, often unlined - are the case where wax is still correct, and where it beats every spray on this page for durability. Atsko publishes the most specific instructions in the category, including a hard temperature ceiling: preheat clean, dry boots but do not exceed a comfortable handling temperature of 120 F.
Two conditions before you reach for it. The boot must have no waterproof membrane, because wax will seal the outer and trap the moisture the membrane is supposed to vent. And it must be smooth leather - Atsko says outright that Sno-Seal is not recommended for suede and will darken and flatten the nap. It darkens all leather, which Atsko also says plainly.
If you are not sure which kind of boot you own, the label inside the shaft usually names the membrane. The wider argument between the two formats is in wax vs spray vs cream.
What about the sole, the rand and the laces?
Three parts of a hiking boot that people either over-treat or ignore entirely.
The rubber rand and the sole need nothing. Rubber is already waterproof, and a proofer on it does no harm but does no good either - it will wear off in a day of walking. Spraying the rand is wasted product, though getting overspray on it is harmless.
The seam where the rand meets the upper is the opposite: it is one of the three places water actually gets in, and it is worth a deliberate pass rather than a general mist. Work the treatment into that join with a cloth.
Laces are worth a thought on a boot you will wear in long wet grass. Water runs down a lace and into the lace channel, and a treated lace sheds rather than wicks. Nobody sells a product for this - the answer is to leave the laces in and let the overspray do it, which happens anyway.
How often to redo it
Nobody publishes an interval. Not Nikwax, not Grangers, not Atsko - so any number you have been quoted for spray-on footwear proofing was invented by a publisher, not a manufacturer.
The substitute is a test rather than a calendar: drop water on the flex crease across the vamp and on the welt seam. If it soaks in instead of beading, redo it. Those two places fail first on a hiking boot because they abrade the most, and they fail long before the toe does. The full method is in how often should you reproof boots.
New boots: treat them before the first walk
Most hiking boots leave the factory with a durable water repellent finish already on them, and most people wear that off over a season without ever noticing it was there. By the time the boots are visibly wetting out, the leather or textile has already taken several soakings it did not need to.
Treating a new pair before the first wet walk is the cheapest version of this whole page. It costs one application, it goes on a boot that is genuinely clean for the only time in its life, and it starts the wear clock from a full tank rather than an empty one.
What we would actually buy
One pair of mixed leather-and-mesh hikers: Nikwax Fabric & Leather Proof, plus the cleaning gel to go with it. A rack of different boots: Grangers Footwear Repel Plus at 275 ml. Nubuck only: the dedicated Nikwax nubuck product. Old-school full-grain leather with no membrane and a life spent in wet ground: Sno-Seal, applied at or below 120 F, accepting that the boots will darken.
And whichever you buy, clean the boots first and apply while they are still damp. If you are still not sure any of it does anything, that question is answered with the published mechanism in does waterproofing spray actually work.
The write-ups
Every pick, in full
01 / Best for mixed leather and mesh
Nikwax
8.7 / 10
Nikwax Fabric & Leather Proof
The mixed-material answer: one water-based treatment for boots that are part leather and part textile, which is most modern hiking boots.
+Genuinely specific published instructions, including a temperature limit
+A wax film is the most durable barrier you can put on smooth leather at this price
+One tin treats a lot of boots
What it does not
−Darkens all leather, which Atsko says plainly
−Never for suede or nubuck
−The preheat step means it is a 30-minute job, not a 3-minute one
Skip this one if
Your boots are suede. Atsko says outright it is not recommended for suede, and will darken and flatten the nap.
How it scores, by criterion
Documented use10.0
Material range6.0
Reapplication burden9.0
Published composition8.0
Coverage per tin9.5
How these picks were chosen
Everyone in this category says they tested twenty dryers. We have not tested any, and we say so. What we did instead: read the manuals, compile the published specifications, compute the running cost from the manufacturer's own wattage figure, and show the arithmetic so you can check it.
For the usual mixed leather-and-textile hiker with a membrane, a water-based spray-on such as Nikwax Fabric & Leather Proof - it coats the fibers and leaves the gaps open so the membrane can still breathe. For a household with several different boots, Grangers Footwear Repel Plus covers every common material from one 275 ml bottle.
Can you use Sno-Seal or wax on Gore-Tex hiking boots?
You should not. A wax fills the spaces between the fibers and seals the outer, which blocks the route the membrane uses to vent vapor from your foot. The result is a boot that is wet inside for a different reason. Wax belongs on full-grain leather boots with no membrane.
Do you apply boot waterproofing to wet or dry boots?
For the water-based sprays here, damp. Nikwax publishes “apply to clean, wet footwear” and Grangers publishes “freshly-cleaned, damp”. Wax is the opposite - Atsko specifies clean, dry boots, gently preheated and never above 120 F.
My Gore-Tex boots leak. Does re-waterproofing fix it?
Often, because the usual cause is not a failed membrane. It is an outer face fabric so clogged with dirt and oils that it soaks through and stops breathing. Clean the boots properly first, then re-proof. If they still wet through after that, the membrane itself may be damaged and no spray will repair it.
How often should you waterproof hiking boots?
No manufacturer publishes an interval, so treat any specific number you read with suspicion. Test the flex crease and the welt with a few drops of water: if it soaks in rather than beading, it is time. Those two spots abrade first and fail long before the toe.